The roof is an important investment for any homeowner, which often requires careful planning and understanding of the entire process. To consider innumerable factors, from selecting the right material to choosing a contractor, starting a roof replacement may feel overwhelming. The purpose of this article is to breakdown the process by providing a wide step-by-step guide to the owners of the house. You will understand what to expect at each stage, from initial evaluation and decision making to final inspection and cleaning. Understanding the steps of replacement of a roof not only helps homeowners prepare financially, but also equips them with the knowledge to make an alternative to the entire project.
This post will be a great help whether you are dealing with storm damage or just want to improve your home’s curb appeal. Prepare to get insight that will take you through this necessary home improvement effort with clarity and assurance, setting up the platform for a successful result that will protect your home for the coming years.
You can expect the process as follows from beginning to end:
1. Planning & Preparation (Days/Weeks Before Work Begins)
- Permitting Process – Most municipalities require permits for roof replacements. Your contractor should handle this paperwork – if they suggest that they leave the permit, consider it a red flag.
- Preparing your property – remove vehicles from the driveway, move the courtyard furniture, and protect the landscaping. Consider covering items in your attic from dust infiltration.
2. Project Commencement (Day 1-2: Tear-Off Phase)
- Early Morning Arrival – Crews typically begin work by 7-8 AM to maximize daylight hours. The tear-off process is loud—notify neighbors in advance as a courtesy.
- Structural Inspection – Once old materials are removed, the roof deck is exposed. This is when underlying damage (rot, mold, or structural issues) becomes visible. Reputable contractors will document and discuss any necessary repairs.
- Debris Management – A large dumpster will be placed on your property, and crews should use protective tarps to catch falling debris.
3. Installation Phase (Days 2-4: Rebuilding Your Roof)
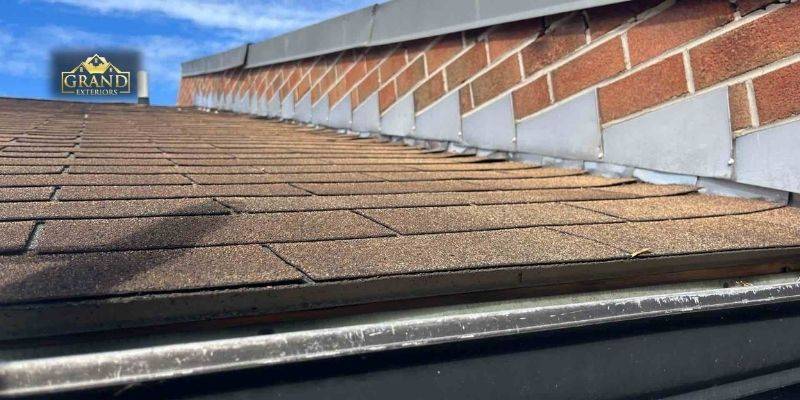
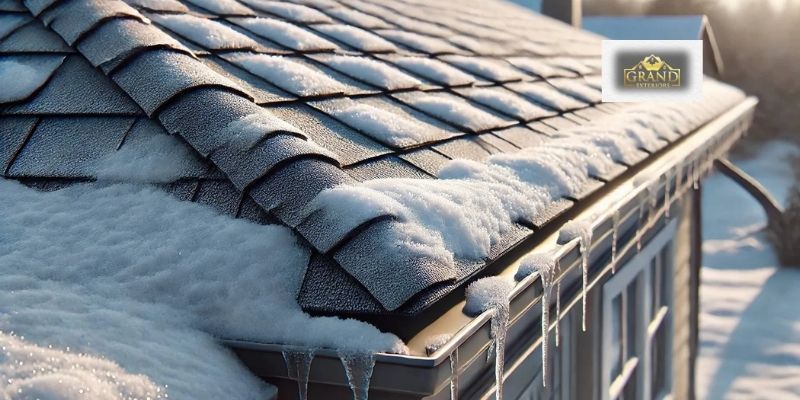
- Weatherproofing Layer – High-quality synthetic underlayment is installed first, acting as a critical moisture barrier. In colder climates, ice/water shield is added along eaves and valleys.
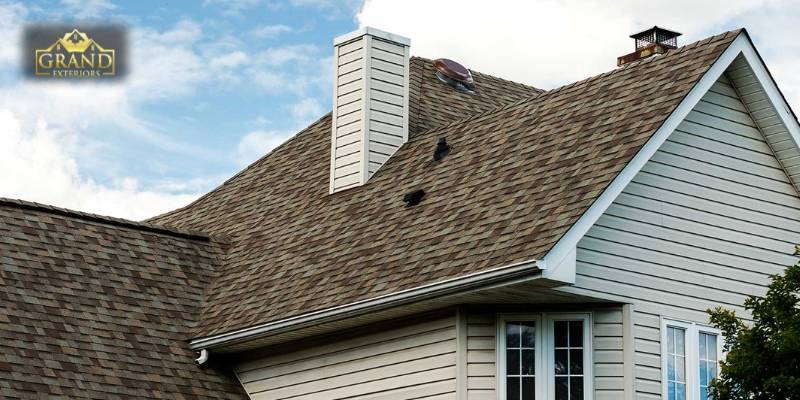
- Flashing Installation – Metal flashing around chimneys, vents, and roof valleys must be meticulously sealed—this is where many leaks originate if not properly addressed.
- Shingle Application – Installation follows manufacturer specifications for nailing patterns and overlap. Quality crews work systematically from the eaves upward, ensuring proper alignment.
4. Finalization & Quality Checks (Last Day)
- Site Cleanup – Crews should perform a thorough cleanup using magnetic tools to collect nails. Walk the property yourself to verify no hazards remain.
- Ventilation Assessment – Proper attic airflow is verified, with adjustments made to soffit and ridge vents as needed.
- Water Test – Responsible contractors will perform a controlled water test to confirm there are no leaks at penetration points.
5. Post-Installation (What to Monitor)
- Granule Shedding – New asphalt shingles may lose excess granules initially. This should diminish within a few weeks.
- Documentation – You’ll receive:
Manufacturer warranty paperwork
Contractor workmanship warranty
Final permit inspection documents (if applicable)
- Scheduled Follow-Up – Many reputable companies will schedule a post-installation check after a few months to address any settling or minor adjustments.
6. Dealing With Unexpected Weather Delays
- Flexibility is Key – Roofing can’t proceed during rain, high winds, or extreme cold. Build buffer days into your schedule.
- Protective Measures – Contractors should secure your exposed roof with tarps if work is interrupted. Verify this before crews leave for the day.
7. Understanding Disposal & Recycling
- Eco-Friendly Options – Many companies now recycle old shingles into pavement. Ask about this sustainable alternative.
- Dumpster Removal – Confirm who handles dumpster pickup and when it will occur to avoid prolonged driveway blockage.
8. Handling Finishing Touches
- Gutter Reattachment – Gutters are often removed during installation. Ensure they’re properly reinstalled with new hangers.
- Landscape Recovery – Inspect bushes and flower beds for damage from falling debris or foot traffic. Most contractors will address minor issues.
9. Insurance & Warranty Considerations
- Policy Updates – Notify your homeowner’s insurance about your new roof, as it may qualify you for discounts.
- Warranty Fine Print – Understand what voids your warranty (like power washing or unauthorized repairs). Keep all documentation organized.
10. Long-Term Maintenance Planning
- Bi-Annual Inspections – Schedule professional inspections every spring and fall to catch minor issues early.
- Cleaning Schedule – Plan for regular gutter cleaning and moss treatment if you’re in a humid climate.
Professional Insight
The difference between a good and an extraordinary roof replacement often comes down to communication. Maintain an open conversation with your contractor, but avoid micromanaging. Keep pets indoors during work hours, and if possible, track daily progress or work updates. Remember that a properly installed roof should provide decades of protection. While the process is temporarily disruptive, it offers both long-term profit-functional and financial investments that make it a meaningful investment in the future of your home.
Conclusion
Finally, understanding the roof replacement process can significantly reduce the doubts for the owners of the house facing this important home improvement project. From each step,from material selection to the final inspection and cleaning-you can ensure that the experience is as smooth and efficient as possible.
A new roof not only improves the look of your house but also offers required security, so safeguarding your investment for the next few years. Correct preparation and understanding will help you to navigate this procedure confidently, guaranteeing your house stays a safe and peaceful haven.