When you install new siding, it is one of the most potent and apparent methods to give a facelift to your house’s exterior, raise its price, and better its energy consumption. Nevertheless, there is one thing that will, before having your contractor for siding come, determine the overall smoothness (and success) of the whole process: preparation.
If you prepare your house properly for the installation, you will not only save time and money but also your siding will last longer and its performance will be enhanced! Whether you are doing a complete change of the exterior look with a new modern style or just replacing the old panels, the following detailed guide to preparing your home for a siding installation will not only make you familiar with the things that you should do but also prepare you for a nice overall siding installation experience.
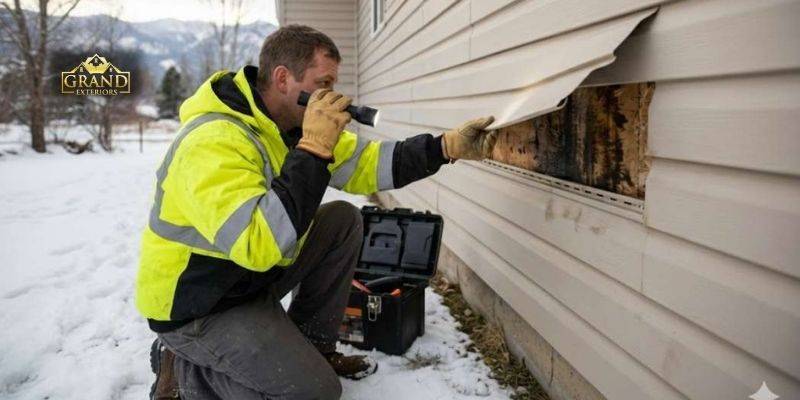
Step 1: Examine & Repair any Existing Damage
Siding replacement should happen only after the condition of the present exterior of your house is immaculate.
Inspect thoroughly for a pest problem, especially in and around the timber parts.
Ailing trims, fascias, or soffits should be repaired or replaced.
Advisor Tip: In case of moisture or rot, it is important to tackle the issues before the installation, as new siding will only conceal the problem temporarily and will not provide a solution.
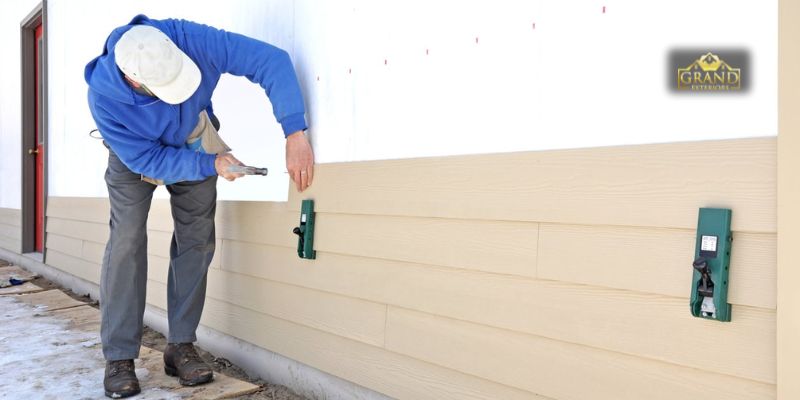
Step 2: Old Siding Removal (When Needed)
It is entirely dependent on what your home’s existing outer envelope is; removing it can be the step that you take before putting up a new one.
Vinyl or aluminum siding: Usually, for the new siding to be installed, the existing layer will need removal.
Wood siding: Wood siding can be left in place occasionally; however, covering the wood with new siding creates a blanket of insulation against the elements, and also manages moisture infiltration.
Asbestos siding: Must be handled and disposed of, and cannot be done by you; it must be done according to very strict safety guidelines by an expert asbestos assessment company.
Why it matters: What really counts here is that taking off the old siding will give contractors a clear view of how the exterior structure is built and also them to find and fix any hidden problems before new siding goes on.
Step 3: Protect Landscaping and Outdoor Areas
Installing siding entails usage of tools, ladders, and debris, and thus it is very important to shield your outdoor spaces.
Cut down all the plants that are around your house such as trees, shrubs, and bushes.
Wrap garden beds and outdoor furniture with tarps or sheets for protection.
Shift parking lots, BBQs, and ornaments to the outer area of the work zone.
Pro Tip: For the purpose of safety and efficiency, make a clear workspace of at least 5 feet surrounding your home.
Step 4: Review the Insulation and House Wrap
This is the best time to make any upgrades to insulation and the moisture barrier.
- Look over your sheathing (the wood or OSB that is underneath your siding).
- You can either apply the house wrap (the breathable barrier against moisture), or remove the existing house wrap and replace it with new.
- If your mind is on energy-use efficiency, you could also go with insulated panels.
Why it matters: A correctly installed house wrap can not only keep your house moisture-free but also comfortable — and this is a benefit that a new siding project cannot provide alone.
Step 5: Windows, Doors, and Trim Preparation
The existing architectural features of your house are to be highlighted through the siding application.
Windows and doors should be free of any gaps or cracks seeping through.
All trim must be checked for rot and damage and replaced if necessary, before siding installation.
Inspect the flashing (metal barriers) to see that the water is draining away from the openings.
Step 6: Safety Considerations: All Electrical Devices & Utilities
It is necessary to be aware and observant of the possibility of light fixtures, outdoor-grade receptacles, or utility meters in your outside area.
Also be certain to turn off all the power to any outdoor electrical work.
On top of that, have your contractor do the disconnection or adjustment of any outdoor lighting fixtures.
In addition, a utility company will need to be consulted if a gas or water line is to be moved.
Why this step matters: It is a must to consider and analyze this step and its consequences. Brushing off the probability of light fixtures, gas meters, and utility meters causing installation delays or worse, damage to wiring or fixtures, you will be a big risk factor!
Conclusion: Prep Today, Install Tomorrow
A successful siding installation doesn’t start with the first nail; it starts with preparation. Inspecting your property and safeguarding the space with your contractor will set the stage for a low-stress and rewarding long-term siding experience.
No matter what your prevention is – upgrading for insulation value, curb appeal, or a fresh look – Preparation will set the stage for longevity. When the preparation is done, the siding will look better and perform better to protect your installation for the next several decades.
No matter your prevention (upgrading, either for improved insulating, improved curb appeal or fresh look) – preparation will extend the utility of your results. When the home is properly prepared the siding will look better and perform better and this will give you the lasting investment protection for decades to come.