Vinyl siding is one of the most common upgrades performed by homeowners. This is done in the home’s exterior as it is durable, low-maintenance, and aesthetically pleasing. During the installation process, having a comprehensive checklist will ensure that the process goes as planned. This guide contains everything you need to know before preparing, handling, and completing your new vinyl siding installation.
Understanding Vinyl Siding
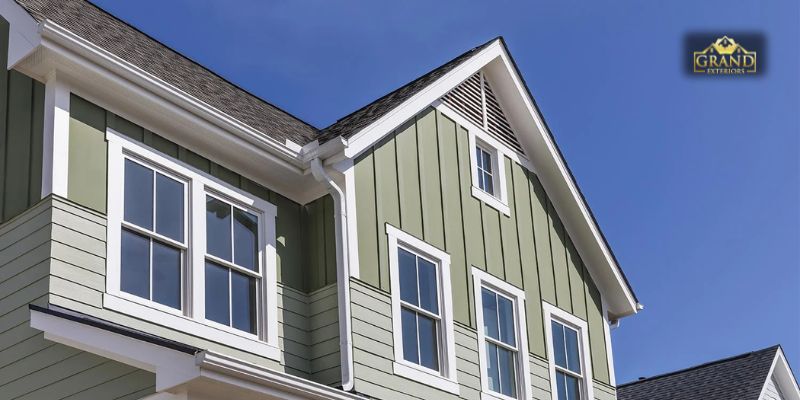
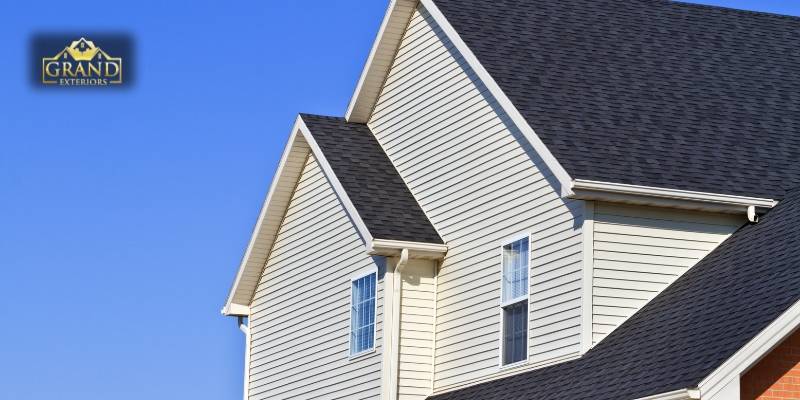
Vinyl siding can be defined as a durable plastic exterior shell that is usually fitted on residential houses. It is also a rainproof barrier, and it enhances the beauty of the premises. Vinyl sidings come in a vast color spectrum, texture, and profile, and it can fit any architectural style.
Common Styles and Finishes:
- Horizontal lap siding
- Vertical panels
- Shake and shingles styles
- Beaded and Dutch lap profile
Key Benefits:
- Durability – it lasts long
- Easy to Maintain- only needs sporadic cleaning
- Curb Appeal- improves exterior beauty in various ways of design
- Cost-Effectiveness- cheap to install, and has a long-term value
Vinyl Siding Installation Checklist for Homeowners
1. Pre-Installation Considerations
Assessing Your Home’s Exterior
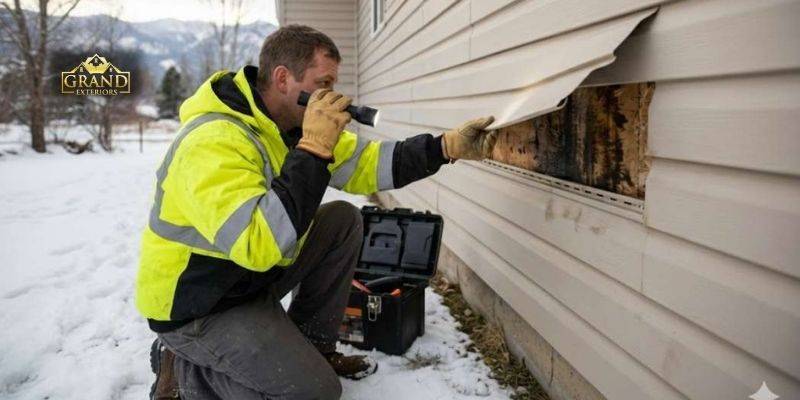
Check the exterior of your home prior to putting on the new vinyl siding to see if there is any sign of rot, mold, or water damage. Structural issues that may need to be repaired may be hidden behind old siding.
A quality check inspection will keep your new siding properly secured and will last longer too. It will avoid undesirable issues with an unstable or broken surface in the future.
Choosing the Right Vinyl Siding
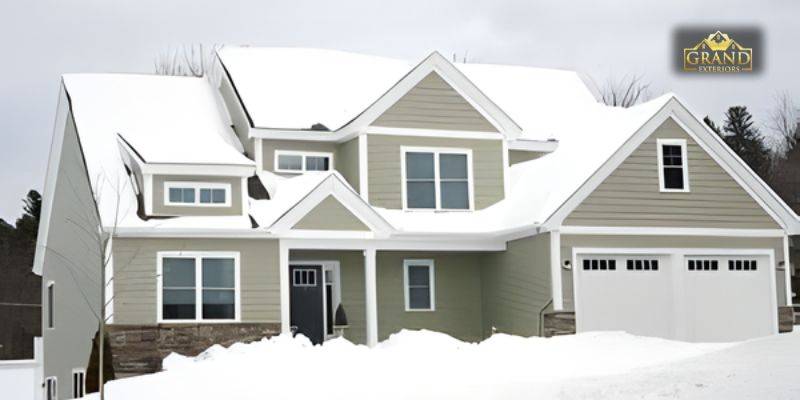
There is a variety of colours, texture and insulation available in the vinyl siding. Choose the style that goes with the architectural style of your home and fits your climate needs.
It is energy-efficient because it has vinyl insulation and looks natural with the help of textured finishing. Consider curb appeal against performance and maintenance in the long term when making a decision.
Setting a Realistic Budget
When estimating the cost of your project, take into consideration material, labor and the cost of disposing the old siding. The prices may vary depending on the size of the house, quality of the vinyl and the installation challenges.
It will provide a contingency reserve that will ensure that you do not end up financially strained during the installation.
Getting Permits and HOA Approvals
In most cities, siding replacements are permit-based. In addition, homeowners associations (HOAs) can have rules on exterior material or colors.
Before you start any project, it is always best to check with the local building codes and the HOA regulations so as to not get in a bind later on in the project.
2. Finding and Hiring a Contractor
Research and Recommendations
Look for reliable contractors with reputable names in the locality and with good experience. Look around your local home improvement stores, do a search on the internet review websites, or talk to your neighbors.
A good contractor is expected to be capable of providing a portfolio of their work and provide references to confirm the quality and professionalism of their work.
Questions to Ask Before Hiring
When contracting workers, enquire on their licensing, insurance, duration that they expect to complete the job and warranties. Make sure they are well informed on how to go about the installation of the vinyl siding, especially so.
Communication and written contracts will also see to it that there is no miscommunication and that your investment in this project is not jeopardized.
Requesting Detailed Quotes
Request written estimates that clearly separate the costs of materials, labor, and disposal rates. The quote must also factor in the insulation, trim work, and any repair work.
An itemized quote in a clear form enables an easy comparison of contractors, and no hidden costs are incurred in the future.
3. Preparing for Installation Day
Clearing the Work Area
Bring outside furniture, flower pots and ornaments into the house. Trim bushes and trees to get easy access to the exterior walls.
Put the pets indoors securely and give notice to the family members beforehand so that all of them can stay safe and minimize disruptions.
Communicating with the Contractor
Make sure you are aware of the project timetable, working hours per day, and the main point of contact to be utilized before the installation starts. Discuss access requirements, car parking, and any other specific concerns you may have.
Communication is continuous, ensuring delays are avoided and keeping you informed about the process, in line with the contractor.
Understanding the Timeline
It has been estimated that on average, the installation of vinyl siding involves 1-2 weeks of work (weather and size of home depending).
It may be slowed down due to rain or extreme temperatures. Your contractor must give you an approximate time frame and inform you about any alterations as the work goes on.
4. What to Expect During Installation
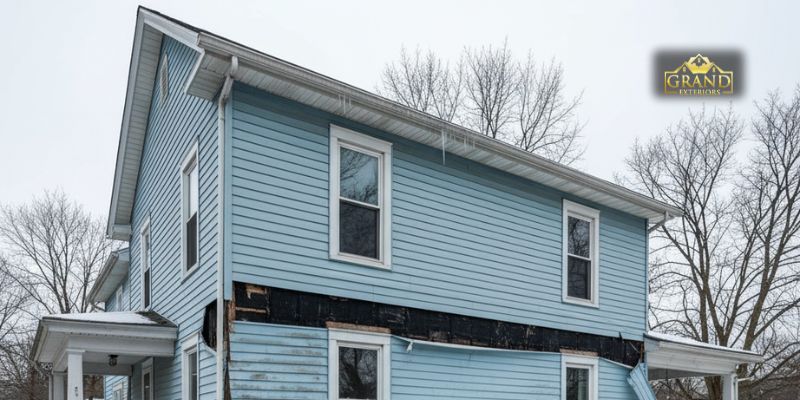
Removal of Old Siding
The crew will begin by carefully removing the old siding from your home. This will reveal the underlying structure.
It may expose other hidden problems, such as moisture damage or rot, which must be addressed before the new siding can be installed.
Inspection of Wall Sheathing
After the removal of the old siding, the wall sheathing is checked to see its structural integrity.
The old components that are broken are fixed or changed to provide a stable and safe base to the new vinyl siding, making it more durable.
Weather Barrier or Insulation Installation
Installers install a weatherproof barrier, or foam insulation prior to applying new panels.
These materials provide an additional protection against the intrusion of moisture and air. This is useful in enhancing the energy efficiency of your home, and minimizing the concern of repairs in the future.
Mounting of New Vinyl Panels
Panels of vinyl siding are installed with a slight upward tilt, and each panel overlaps well as the siding is installed.
The installers consider spacing and fastening methods to accommodate for expansion and contraction due to temperature fluctuations.
Cleanup and Final Walkthrough
After the installation is over, the crew removes waste and waste materials.
The final walkthrough is conducted to ensure quality, address any issues, and review maintenance recommendations. Your satisfaction will guarantee the project closure.
Conclusion
You should consider planning, choosing the quality materials as well as employing a competent contractor when new siding is being installed. Using the checklist, you will avoid the most typical installation errors, comply with the budget, ensure functionality of your household and increase its curb appeal.
Get your vinyl siding properly installed, enjoy specific instructions, and years of sustainable outputs by contacting Grand Exteriors now.