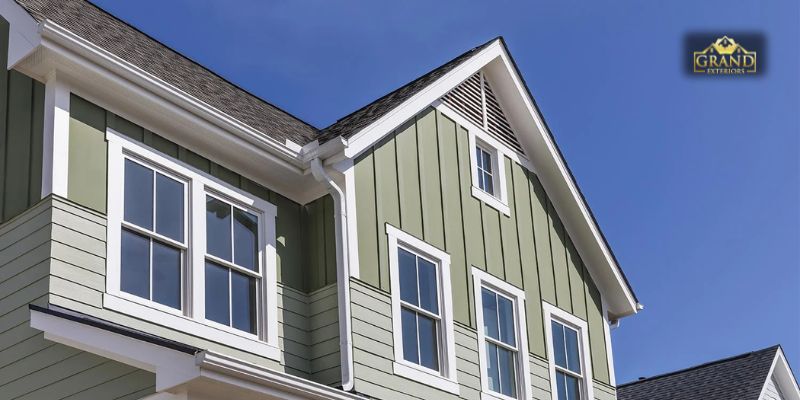
Choosing new siding for your house is an exciting decision that can improve the look of your home, increase energy efficiency, and protect your home long into the future. However, the fate of the investment comes down to one thing: installation.
To protect your house and to provide you with the best value for your investment, it is important to know what signs to look for, so here are 6 common installation mistakes a homeowner should avoid when installing new siding!
1. Shoddy Nailing: Too Tight, Too Loose or Totally Off
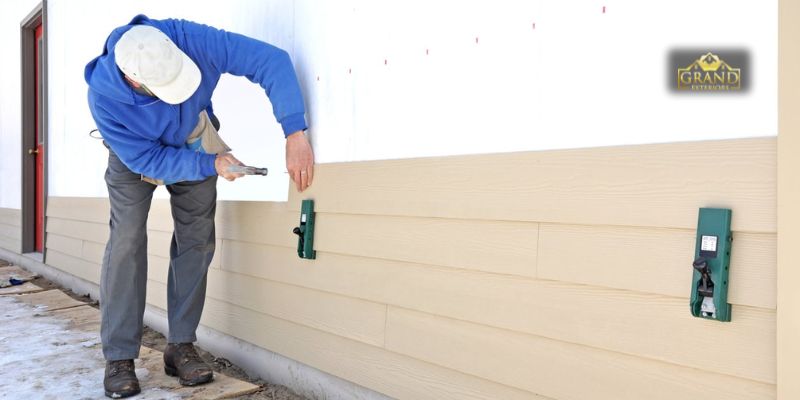
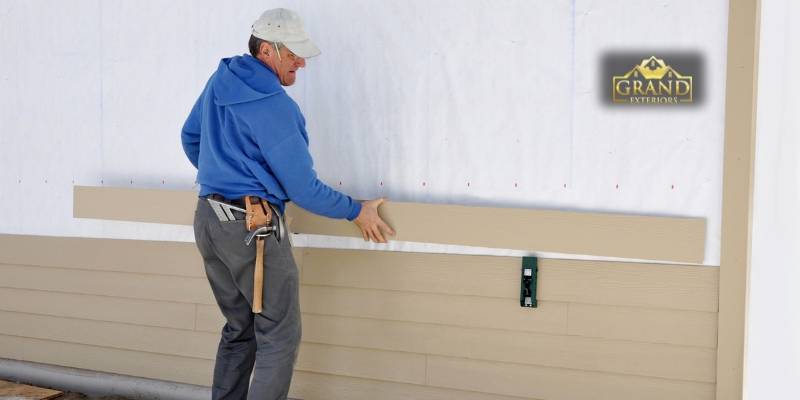
Arguably, the most technical and critical part of the siding installation process is how the siding is fastened. If done poorly, a whole slew of problems can occur.
- Over-driven (very tight): This is the most common issue. When the nails are very tightly operated, it does not allow for natural expansion and contraction of siding materials as there is an increase and a drop in temperature. This constant force can cause deer, perverted, or broken panels.
- Under-driven (Too Loose): When the nails are too loose, or not driven in straight, the siding will not be secure. This causes it to be prone to being lifted or torn off by wind.
The Goldilocks Rule: Proper nailing means the nail head is just barely holding against the surface of the siding without compressing it. You should be able to slip a finger under the nail head. This creates a type of “floating” fastener that allows for necessary movement.
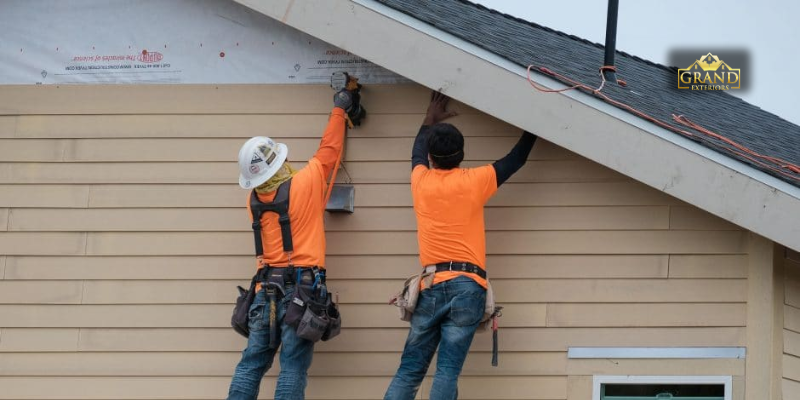
2. Disregarding the Weather Barrier:
Siding on its own is not a water-tight seal; it is a weather resistant cladding. The moisture overall protection comes from the material underneath, the weather-resistant barrier (WRB), or house wrap.
- Mistake: Placing siding directly on top of the sheathing, or old wood siding, without the proper WRB is asking for trouble. Any moisture that makes its way behind the siding is waiting to encourage rot and damage directly against the structural components of your house.
- Solution: A modern WRB like Tyvek or similar must be properly applied underneath the siding. This includes an application of overlap on seams from the bottom up (like shingles), and every seam, along with tear or hole, must be sealed with specialized tape. This product allows for the exchange of water vapour escaping while liquid water is prevented from entering off the surface of the WRB.
3. Bad J-Channel and trim work:
Everyone overlooks trim pieces, especially J-channels that receive the ends of siding panels, but they are the unsung heroes of a beautiful installation.
- Mistakes: Mitering inside corners instead of utilizing a joint channel, causing poorly cut seams that are not lined up properly, or simply not securing the trim correctly. A sloppy trim is a dead giveaway when you see it and is often a place for water and pests to enter the house.
- The Mark of a Pro: Beautiful, tight seams on outside corners and utilizing the proper joint channels on inside corners make a huge difference in presenting a nice, clean, professional appearance while also being watertight.
4. Insufficient Expansion Gaps:
Siding materials will expand when heated by the sun, and contract when cooled. Not allowing for that movement will cause issues.
- The Problem: The panels, or trim, are too long—they’re butted tightly together or into a corner. As that material expands, it has nowhere to expand too, so it will buckle, warp, or even push against adjacent structures.
- The Solution: Professional installers will leave the specified gap the manufacturer has requested at the ends of panels, at all joints, and at all transitions to trim, doors, and roofs, while hiding those gaps with trim pieces, allowing the material to move as necessary without affecting the appearance.
5. Rushing the Tear-Off and Prep Work:
An eager desire to get the new siding up can persuade an installer to take shortcuts in the most critical part of the job: the prep.
- Mistakes: A failure to closely investigate the sheathing for rot or damage, once the old siding is off. If the installer ignores due diligence, they could be installing new siding over problematic structural elements – locking decay in and ensuring there are problems in the future. They may also check to see if the sheathing is flat and level. If the sheathing is not, your new siding will not be flat and even.
- The Right Way: A qualified installer will see the tear-off as an opportunity. They will pay close attention to the substrate, replace any rotted wood, and provide any appropriate repairs, allowing them to have a sound and stable surface to install new siding.
6. Incorrect lap and overlap:
The lapped amount of horizontal lap siding is essential for weatherproofing.
- The mistake: Not following the manufacturer’s minimum specified lap. If there is not enough lap, wind-driven rain can be forced behind the siding.
- The solution: A professional crew will measure or use a gauge to make sure the lapped seam on every course has the correct and even lapped amount. This will mean a dependable barrier against the weather.
In summary
Read New Reviews: When prospective siding contractors are written, look for consistency in reviews that mention quality workmanship and attention to detail.
Ask about the process: A reputable company will clearly and happily explain their installation process, including adequately discussing how they will handle your weather barrier, flashing, and expansion gaps.
Your beautiful, new siding is only as good as the installation company you hire – by choosing a careful and experienced contractor, you will avoid costly mistakes and improve the curb appeal and longevity of your new siding.